c. Connect to Remote Desktop Session
In this section, you connect to your DCV Remote Desktop Session using a web browser client or native NICE DCV Client.
Connect using a Web Browser
When you connect make sure you use the https protocol to ensure a secure connection.
- Make sure you are using a supported web browser
- Use the secure URL, NICE DCV server Public IP address or Public DNS Name, and correct port (8443) to connect.
- Use the following command to list running instances and display their names, type, private IP address, Public IP address and Public DNS Name. Here, the information is filtered to only keep certain details (hence the complex command). The same information is displayed on the EC2 Dashboard.
aws ec2 describe-instances --query 'Reservations[*].Instances[*].[Tags[?Key==`Name`]| [0].Value,InstanceType, PrivateIpAddress, PublicIpAddress, PublicDnsName]' --filters Name=instance-state-name,Values=running --output table

-------------------------------------------------------------------------------------------------------------------
|                                                DescribeInstances                                                |
+---------------+--------------+----------------+-----------------+-----------------------------------------------+
|  NICE DCV DEMO|  g4dn.xlarge |  172.31.7.241  |  3.239.217.95   |  ec2-3-239-217-95.compute-1.amazonaws.com     |
+---------------+--------------+----------------+-----------------+-----------------------------------------------+
3.239.217.95 is the Public IP address. ec2-3-239-217-95.compute-1.amazonaws.com is the Public DNS name.
-
Open your web browser and enter the NICE DCV server URL in the following format: https://PublicDNSname:port/#mysession
We will use the Public DNS name and connect over port 8443 as setup while creating the NICE DCV server instance.
##Remember to use your OWN PublicDNS name
https://ec2-3.239.217.95.compute-1.amazonaws.com:8443/#dcvdemo
-
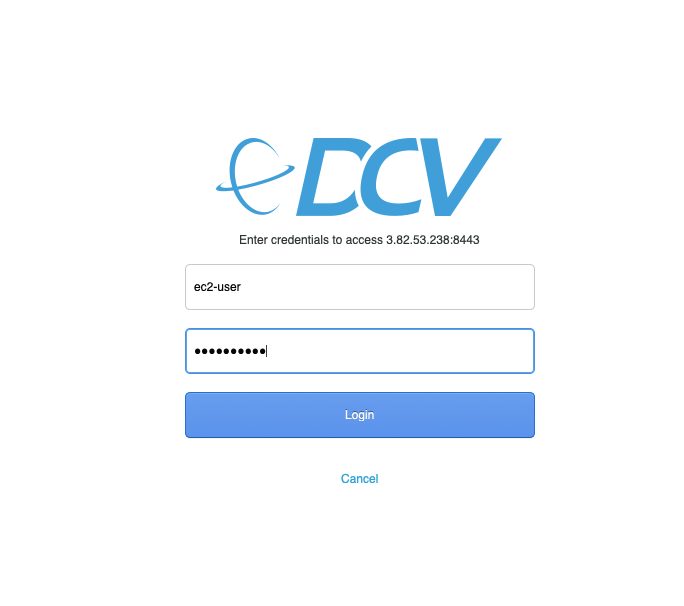
Enter your user name and password that you setup for the NICE DCV Server instance and choose Login.
-
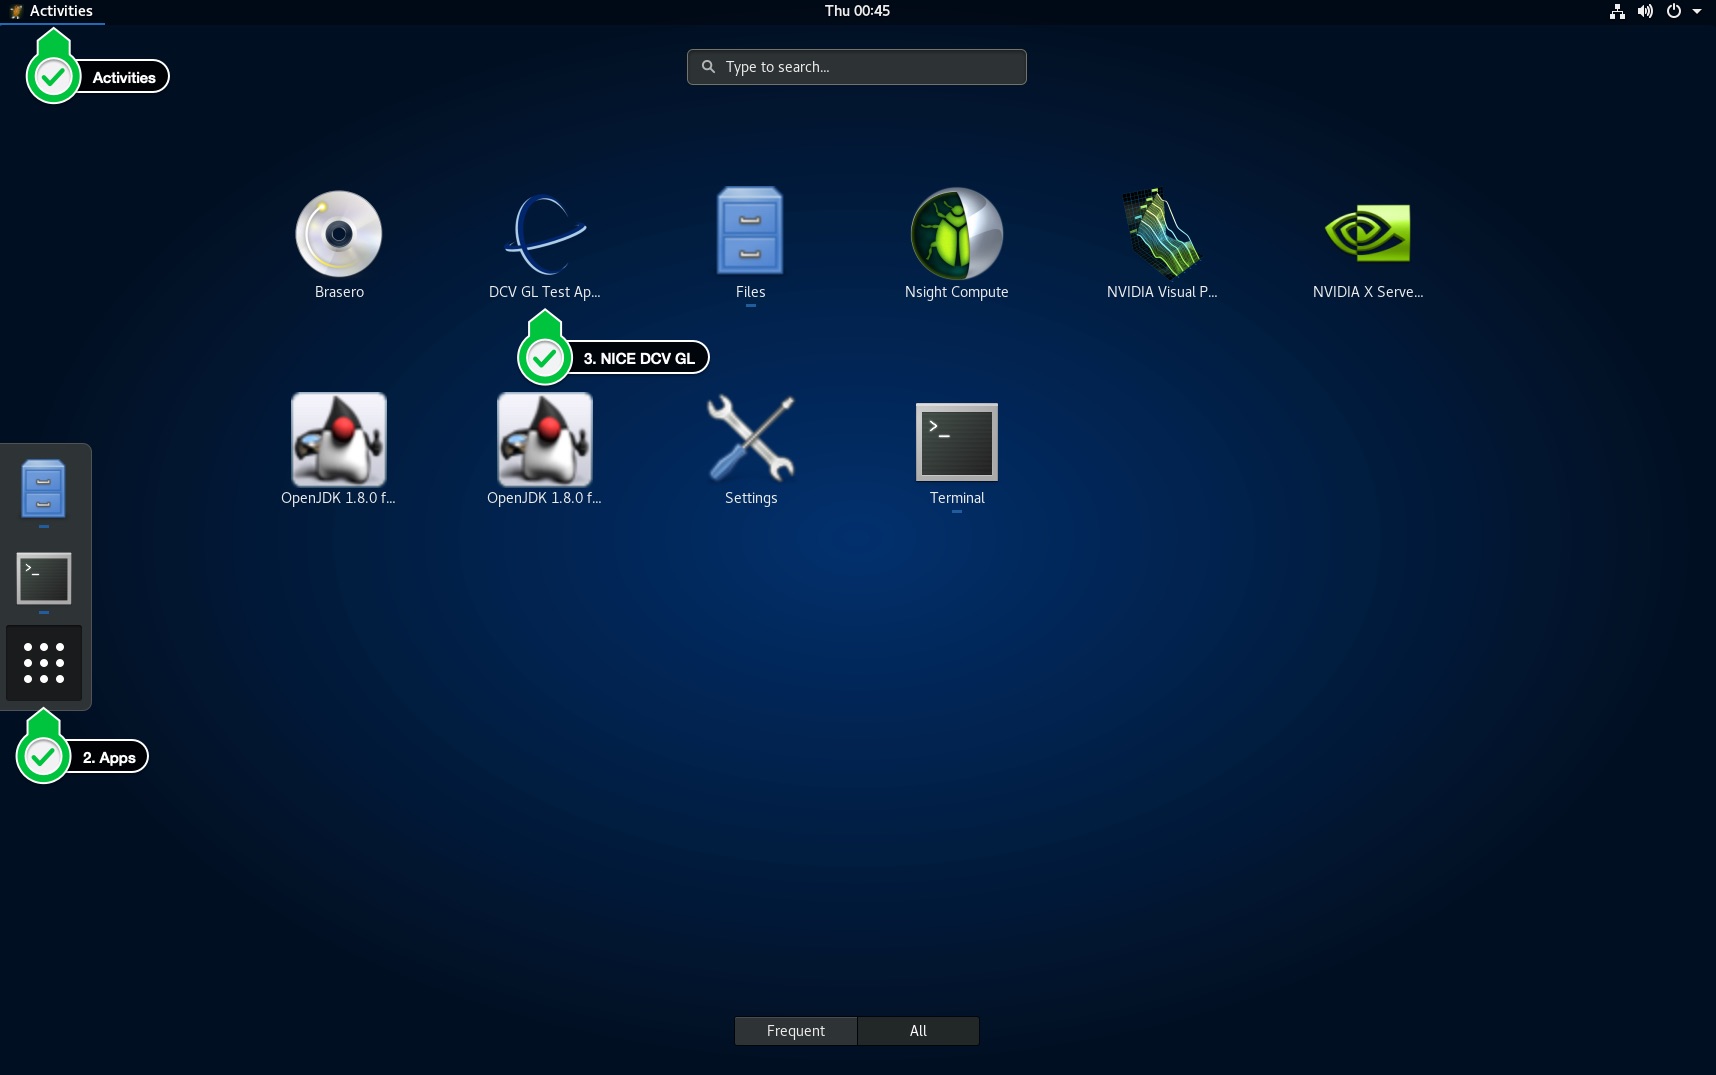
Open a Terminal and run a sample visual application dcvgltest from the NICE DCV package
Connect using NICE DCV Client
-
Download and install the DCV Client
-
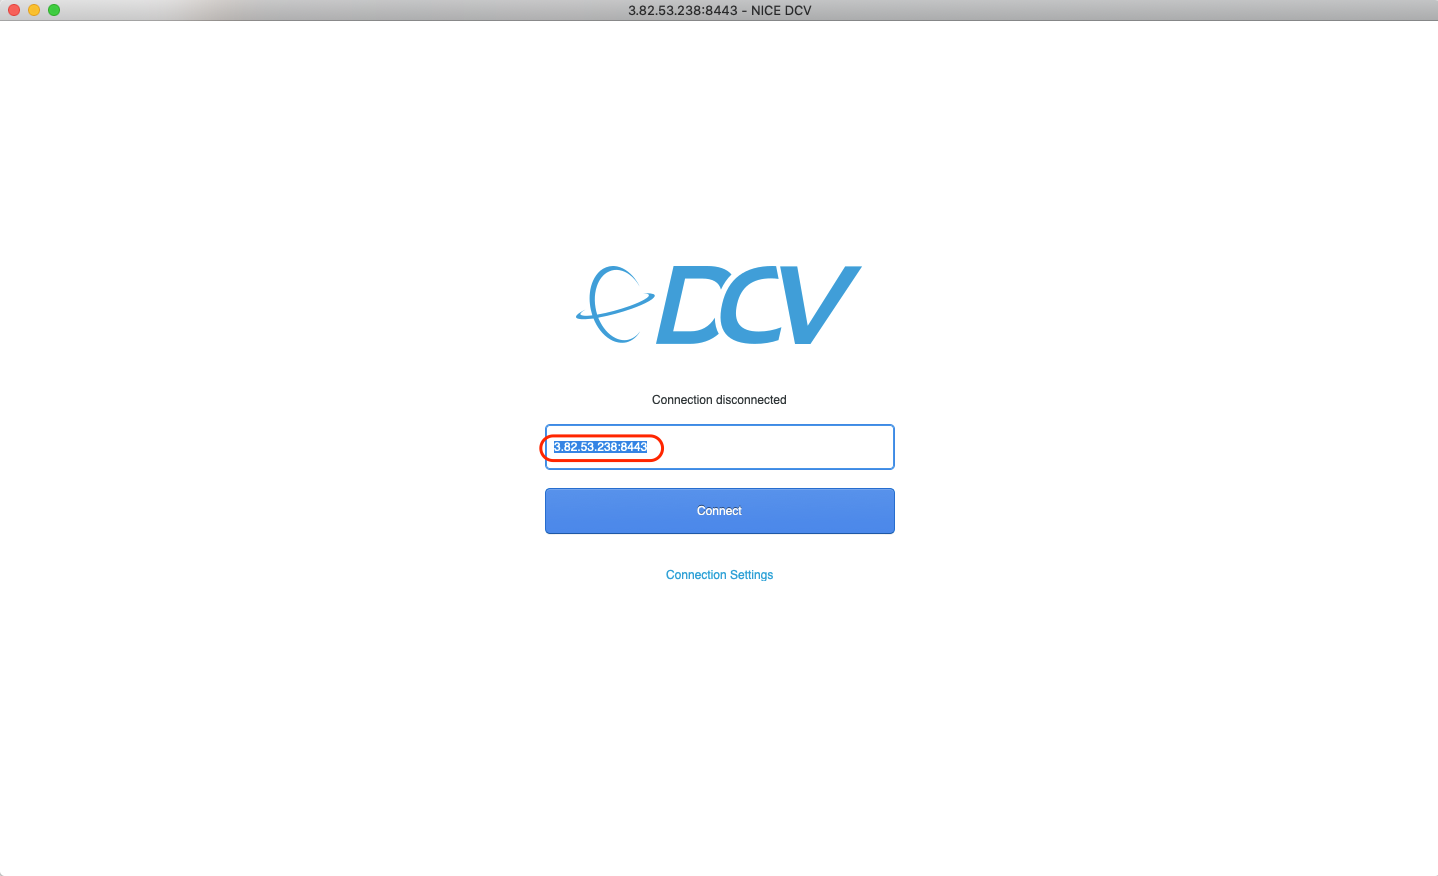
Use the Public IP address or Public DNS Name, and correct port (8443) to connect
-
You can obstain the Public IP address or Public DNS Name for the NICE DCV Server instance either from the EC2 Dashboard or using the aws cli command used above
-
Open the DCV Client and connect. In the below example, we connect using the Public IP address
- Enter your user name and password that you setup for the NICE DCV Server instance and choose Login
- Login and stream your graphics application.
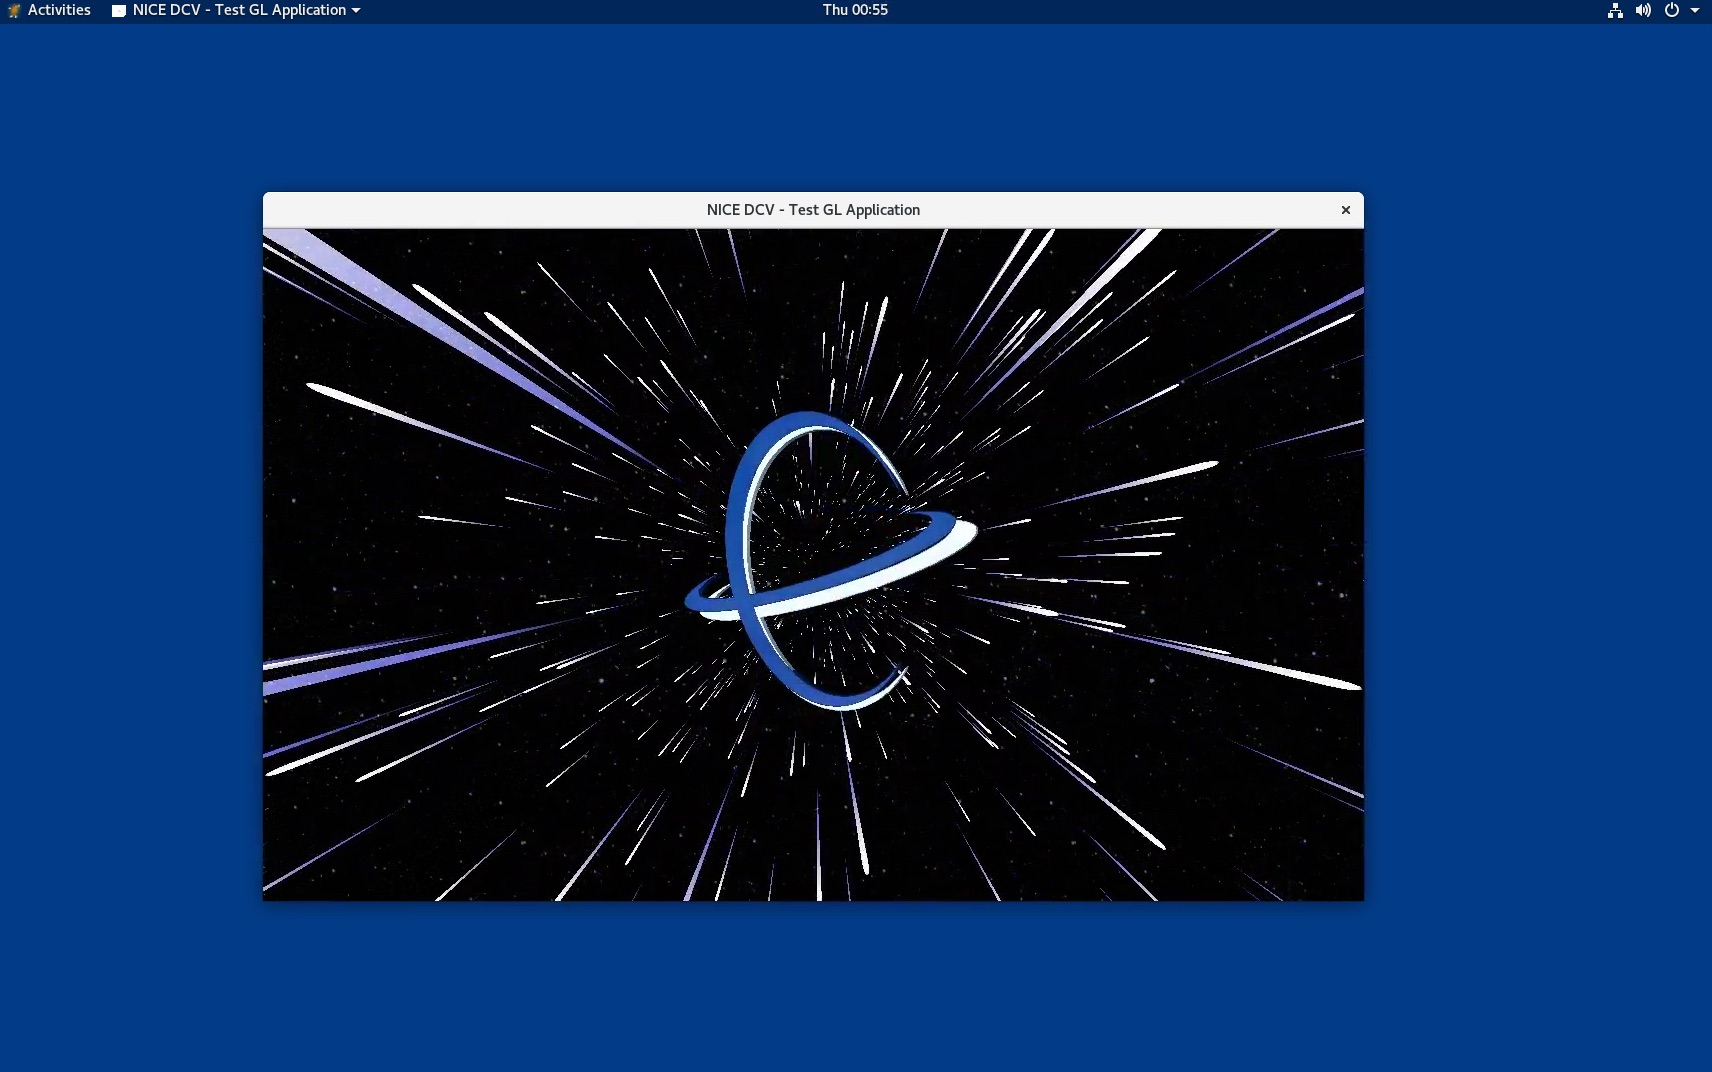
You can run a DCV Test GL application, Go to Applications → Other → DCV GL Test Application
You should see this: